
Walk into any small print shop that added garment decoration in the last couple of years and you will probably spot the same thing: a compact printer loaded with film, a shaker box of adhesive powder, and a heat press that never really cools down. That setup is the heart of dtf transfers, and it has quietly become the most practical option for shops that need full-color prints without the messy prep work of screen printing or the material limits of vinyl.
What follows is not a sales pitch. It is a working guide built around the questions that come up after the first few weeks of production, when the novelty wears off and you start noticing which prints survive forty washes and which ones crack along the shoulder seam.
Why DTF Fits the Way Small Shops Actually Work
The appeal of direct-to-film is not that it produces the highest-quality print in existence. It is that it removes friction from the parts of the job that used to eat time: color separation, screen setup, and minimum order quantities. A single gang sheet can hold a dozen different designs for a dozen different customers, and you print them all in one pass.
That matters most for the orders that never justified screen printing in the first place. A five-shirt team order, a batch of henleys for a local band, a one-off gift with a photo on it. With dtf, those jobs become profitable instead of break-even, because your setup cost is essentially zero beyond the film and powder you consume.
There is also a material advantage that gets overlooked. Because the design is printed onto a film and then adhered with a hot-melt powder, you are not limited to cotton. Polyester blends, tri-blends, canvas totes, and even some nylon jackets take a transfer well, provided you adjust temperature and pressure for the fabric. Vinyl cannot do that, and plastisol on polyester often ends up with dye migration problems that show up a week later as a pink ghost behind a white print.
The Consumables That Decide Your Print Quality
Most quality complaints trace back to consumables rather than the printer itself. It helps to think of the process in three layers.
Film
Cold-peel and hot-peel films behave very differently. Cold-peel film holds finer detail and is more forgiving if your powder application is slightly heavy, but you must let the print cool completely before peeling or you will pull ink away from the design edges. Hot-peel film speeds up production and suits simple, bold graphics, but it demands tighter control over your powder shake-off.
Film thickness matters too. Thinner film releases more cleanly and leaves a softer hand feel, but it is less tolerant of a press that runs hot. If you are new to the process, start with a mid-weight cold-peel film and learn its behavior before chasing the thinnest option on the market.
Adhesive Powder
Powder is where most beginners lose money without realizing it. Too little powder and the transfer fails in the wash. Too much and you get a stiff, plastic-like patch with visible texture and a cloudy halo around the edges.
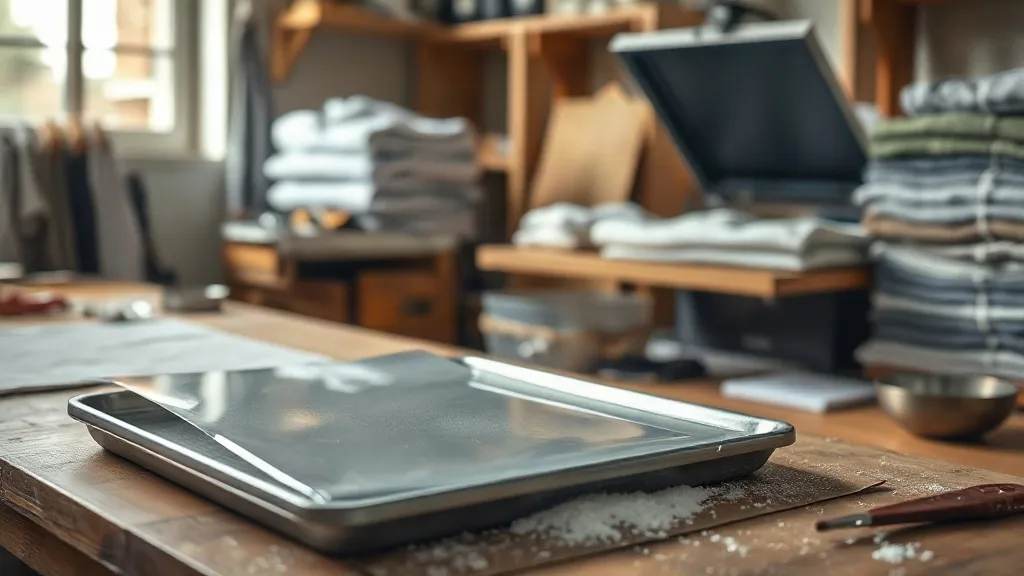
The practical method is to apply powder over a shallow tray, shake gently from a height of around twenty centimeters, then tilt the film and tap the back to release the excess. You want an even, matte coating with no bare spots. A cheap kitchen sieve works fine; a dedicated shaker saves time once you are running more than a few sheets a day.
Ink and Pretreatment
White ink lays down the opacity, and it needs to be shaken or circulated properly before printing. If your white looks grainy or translucent on dark garments, the problem is usually settled pigment, not the transfer process. Keep the white channel agitated and print a small test strip before a large run.
Press Settings That Actually Work
Every press runs a little differently, so treat these as starting points and adjust from there.
- Powder cure: 90 to 100 degrees Celsius for roughly two to three minutes, or until the powder turns from white to a glossy, melted sheen.
- Transfer press: 150 to 160 degrees Celsius for 10 to 15 seconds at medium pressure for cotton. Drop to around 140 degrees for heat-sensitive synthetics.
- Peel: cold peel for detailed work, warm peel for bold shapes. Never peel while the film is still hot unless the film is explicitly rated for it.
- Second press: a five-second post-press with a Teflon sheet or parchment improves adhesion and smooths the surface.
Pressure is the variable people neglect. Too little and the transfer sits on top of the fabric and flakes. Too much and the adhesive pushes into the weave, giving a dull, textured finish. Aim for a firm, even press that leaves a faint fabric texture visible through the film, not a flattened, shiny patch.
Wash Durability: What to Expect and How to Improve It
A properly applied transfer on cotton should hold up through dozens of domestic washes. When it fails early, the cause is almost always one of four things: undercured powder, insufficient pressure, pressing over a seam, or washing inside out at high heat.
Give customers a simple care card. Turn the garment inside out, cold wash, no fabric softener, tumble dry low or hang dry. Fabric softener is the quiet killer here because it coats the fibers and gradually undermines the adhesive bond.
For stretchy fabrics, look for a powder formulated for elasticity. Standard powders crack on high-stretch polyester because the adhesive is stiffer than the garment. A stretch-rated powder costs more per gram but saves you the reprint.
Common Failures and Their Fixes
Patchy, missing areas after pressing
Usually uneven pressure or a warped platen. Check with a pressure test strip and make sure the garment is flat, with no bunched fabric under the design.
Design peeling at the corners
Corners cool faster than the center. Pre-press the garment for three to five seconds to remove moisture, then press the full design and add a short second press focused on the edges.
Cloudy residue around the print
Excess powder that was not shaken off. Reduce powder application and tap the film more aggressively before curing.
Color shifting on dark garments
Insufficient white ink opacity. Increase white passes or check that the white ink is properly mixed.
When to Source Transfers Instead of Printing In-House
Running your own printer makes sense once you are producing consistently and have the space for curing, powder handling, and storage. Below that threshold, ordering finished transfers from a supplier is often the smarter economics. You avoid the capital cost, the maintenance schedule, and the learning curve, and you can still offer full-color work to your customers.
If you are searching for dtf transfers near me, check turnaround time and minimum order size before anything else. A supplier with a two-day turnaround and no minimum will beat a cheaper one with a two-week lead time on almost every small order. Ask what film and powder they use, and request a sample transfer to press yourself before committing to a volume order.
Many shops end up in a hybrid model: in-house printing for rush jobs and short runs, outsourced gang sheets for large or unusually detailed work. That combination keeps your press busy without forcing you to absorb every peak in demand.
Frequently Asked Questions
Can I use DTF transfers on 100% polyester athletic wear?
Yes, but lower the transfer temperature to around 140 degrees Celsius and use a stretch-rated powder. Pre-press the garment briefly to remove moisture, and avoid over-pressing, which can cause the polyester to glaze.
How long should a transfer last in the wash?
With correct powder cure, adequate pressure, and cold washing inside out, most cotton garments hold up for fifty or more domestic washes. Expect somewhat shorter life on high-stretch synthetics and on garments washed at high heat.
Do I need a special printer to make DTF transfers?
You need a printer with a white ink channel, typically a modified inkjet or a dedicated DTF unit, plus a powder shaker and a heat press. Some shops start with a converted printer and upgrade once volume justifies it.
Why does my transfer feel stiff?
Almost always too much powder or excessive pressure. Reduce the powder coating to an even matte layer, shake off the excess thoroughly, and check that your press is not compressing the fabric weave too deeply.
Can DTF transfers be applied to dark colors?
Yes, and that is one of the method's strengths. The white ink layer provides opacity, so full-color designs read correctly on black, navy, and other dark garments without any special handling beyond standard white ink maintenance.