
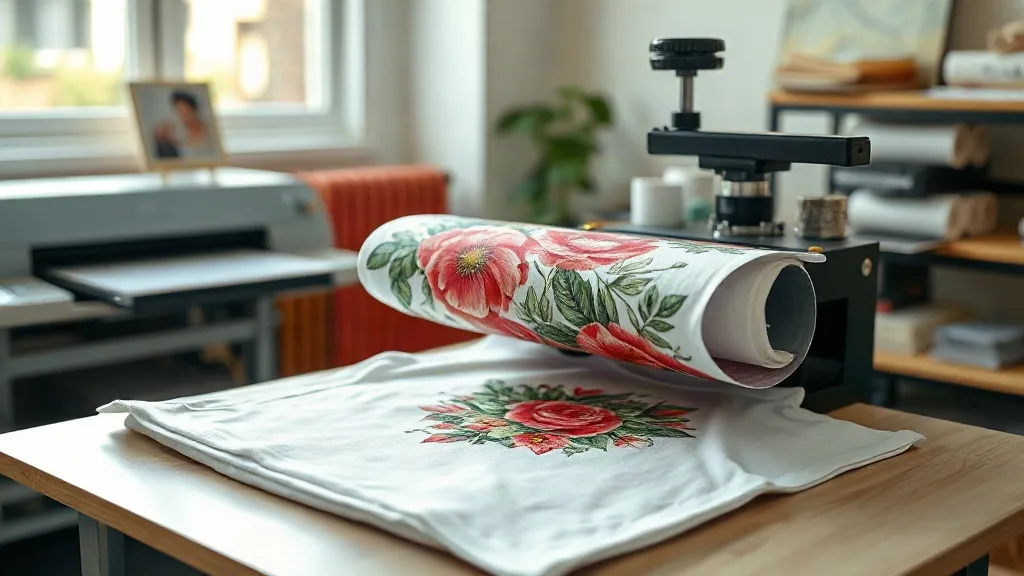
If you've been exploring custom apparel printing, you've likely encountered dtf technology. It's rapidly becoming a favorite among hobbyists and professionals alike for its versatility and vibrant results. But what exactly makes dtf transfers so special? In this guide, we'll walk you through everything you need to know to get started with confidence.
What Are DTF Transfers?
DTF stands for Direct to Film. It's a printing method where your design is printed onto a special film, coated with adhesive powder, and then heat-pressed onto fabric. Unlike DTG (Direct to Garment) or screen printing, DTF works on a wide range of materials, including cotton, polyester, blends, and even nylon. The process involves a specialized printer, PET film, and a heat press. The result is a soft, stretchable print that can handle intricate details and gradients with ease.
Why Choose DTF Transfers?
There are several compelling reasons to consider dtf transfers for your next project. Let's break them down.
Versatility
One of the biggest advantages is that you're not limited to 100% cotton. You can apply DTF transfers to almost any fabric, including those tricky polyester blends that often cause issues with other methods. This opens up a world of possibilities for team uniforms, activewear, and promotional items.
Durability
When applied correctly, DTF transfers are incredibly durable. They resist cracking, peeling, and fading, even after multiple washes. This makes them ideal for items that see frequent use, like workwear or sports jerseys.
Vibrant Colors
Because the design is printed with pigment inks onto a white adhesive layer, the colors remain bright and opaque, even on dark garments. You don't need to worry about the fabric color showing through, which is a common problem with other transfer methods.
No Weeding Required
If you've ever worked with heat transfer vinyl (HTV), you know the pain of weeding tiny details. With DTF, there's no weeding at all. You simply print, powder, cure, and press. This saves a tremendous amount of time, especially for complex designs.
How to Apply DTF Transfers
Applying dtf transfers is straightforward, but following the right steps ensures a professional finish. Here's a step-by-step guide.
Step 1: Prepare Your Design
Start with a high-resolution image. DTF printing can handle fine details, but low-res images will still look pixelated. Ensure your design is mirrored if your printer requires it (check your printer's manual). Most DTF printers print the design in reverse so that when pressed, it reads correctly.
Step 2: Print and Powder
Load your PET film into the DTF printer and print your design. While the ink is still wet, sprinkle the adhesive powder evenly over the print. Shake off any excess. Then, cure the powder using a heat source, such as a heat press or a dedicated curing oven, until it melts and becomes glossy.
Step 3: Preheat Your Garment
Preheat your heat press to the recommended temperature (usually around 300°F to 325°F). Also, pre-press your garment for a few seconds to remove moisture and wrinkles. This step is crucial for proper adhesion.
Step 4: Position and Press
Place the transfer onto the garment with the printed side facing up (the adhesive side down). Cover it with a Teflon sheet or parchment paper. Press with medium pressure for 10-15 seconds. For best results, use a heat press rather than an iron, as consistent pressure and temperature are key.
Step 5: Peel and Enjoy
After pressing, allow the transfer to cool completely before peeling off the film. You can peel it either hot or cold, depending on the film type, but cold peel is more common. Once peeled, you're left with a vibrant, durable print.
Common Mistakes to Avoid
Even with a straightforward process, beginners often run into issues. Here are some pitfalls to watch out for.
- Insufficient pressure: If the pressure is too low, the transfer won't adhere properly and may peel off after washing. Adjust your heat press to ensure even, firm pressure.
- Wrong temperature: Too hot and you'll scorch the fabric or melt the film; too cold and the adhesive won't activate. Always follow the film manufacturer's recommendations.
- Not pre-pressing: Skipping the pre-press can trap moisture, leading to poor adhesion. Always pre-press for 5-10 seconds.
- Using too much powder: Excess powder can create a rough texture and cause the print to feel stiff. Shake off any excess thoroughly.
- Peeling too soon: If you peel while hot, the design might stretch or lift. Wait until it's cool to the touch.
DTF vs. Other Printing Methods
How does DTF stack up against DTG, screen printing, and vinyl? Let's compare.
DTF vs. DTG
DTG (Direct to Garment) prints directly onto the fabric, which limits it mostly to cotton. DTF works on more materials and often produces more vibrant colors on dark shirts. However, DTG can feel softer since there's no transfer layer. DTF is generally more durable on synthetic fabrics.
DTF vs. Screen Printing
Screen printing is cost-effective for large orders of simple designs, but it requires setup and is impractical for small batches or complex multicolor designs. DTF shines for small to medium runs with detailed artwork, and there's no minimum order quantity.
DTF vs. HTV
HTV (heat transfer vinyl) is great for simple one-color designs but requires weeding, which is time-consuming. DTF eliminates weeding and handles full-color designs effortlessly. HTV can be more affordable for very small jobs, but DTF is more efficient for anything beyond basic shapes.
Tips for Perfect DTF Transfers
To ensure your transfers look great and last, keep these tips in mind.
- Store transfers properly: Keep unused transfers in a cool, dry place away from direct sunlight. Moisture can ruin the adhesive.
- Test on scrap fabric: Before pressing onto a final garment, do a test press on a similar fabric to dial in your settings.
- Use a quality heat press: A reliable heat press with consistent temperature and pressure is essential. Irons don't provide even pressure.
- Wash inside out: To extend the life of your print, wash the garment inside out in cold water and tumble dry low.
- Choose the right film: Different films are available for different fabrics and effects (matte, glossy, etc.). Select the one that suits your project.
Frequently Asked Questions
How long do DTF transfers last?
With proper application and care, DTF transfers can last as long as the garment itself. They withstand dozens of washes without fading or cracking, especially if you follow washing instructions.
Can I use DTF transfers on dark colors?
Absolutely. DTF transfers include a white adhesive layer that makes colors pop on dark fabrics. You don't need to worry about the background color affecting the design.
Do I need a special printer for DTF?
Yes, DTF requires a printer that uses DTF inks and can print on PET film. However, you can also buy pre-printed transfers from suppliers if you don't want to invest in a printer.
What fabrics work best with DTF?
DTF works on cotton, polyester, blends, nylon, and more. It's particularly useful for polyester and synthetic fabrics where other methods may struggle.
How do I remove a DTF transfer?
If you need to remove a transfer, you can reheat it with a heat press or iron and peel it off while hot. However, removal can be tricky and may leave residue, so it's best to get it right the first time.
With this guide, you're well on your way to mastering dtf transfers. Whether you're starting a business or personalizing gifts, this technology offers endless possibilities. So gather your materials, fire up your heat press, and let your creativity shine.