
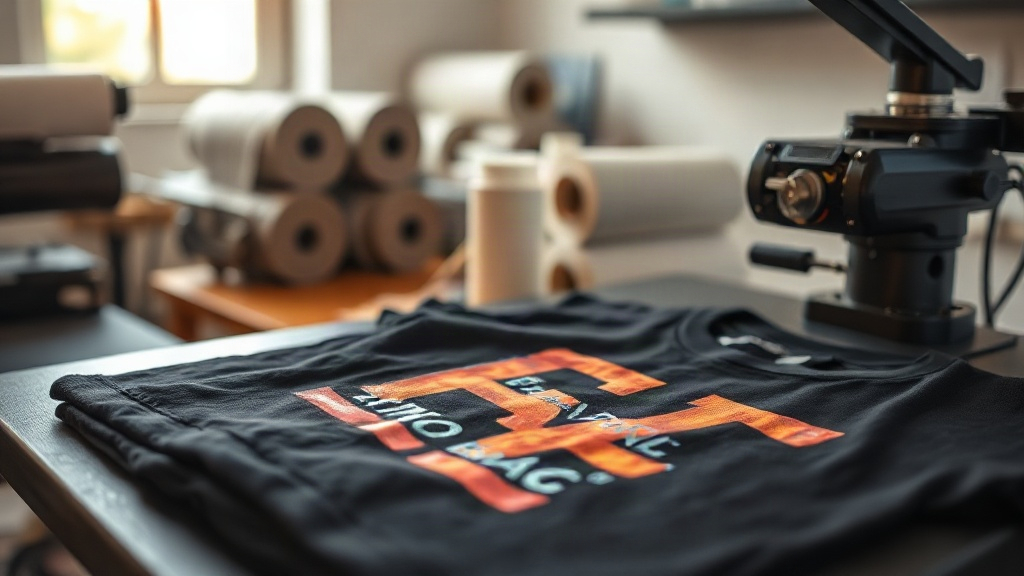
Most people who try DTF Transfers for the first time run into the same surprise: the print looks fantastic straight off the press, then starts cracking after three washes. That gap between the first result and the hundredth is where nearly all the frustration lives. The good news is that it usually comes down to a few controllable variables, not luck or a bad batch of film.
This guide walks through how the process actually works, where it fits compared to other decoration methods, and the specific habits that separate a print that survives a year of wear from one that fails by week two. If you press garments regularly, or you are deciding whether to bring this method in-house, the details below will save you both material and reprints.
What DTF Transfers Actually Are
Direct-to-film is a two-part system. A printer lays down a mirror-image design in CMYK plus white ink onto a PET film, then dusts the wet ink with a hot-melt adhesive powder. The powder sticks to the ink, excess is shaken off, and the film is cured. What you end up holding is a flexible, pre-glued decal that can be stored for months and applied later with a heat press.
The white ink layer is the part that changes everything. Unlike DTG, which prints white directly onto the garment and struggles on dark or synthetic fabrics, DTF carries its own white base on the film. That means the same transfer can go onto a black cotton tee, a navy polyester hoodie, or a canvas tote without reformulating anything.
Why the Adhesive Powder Matters
The powder is not a minor ingredient. It determines how the transfer bonds to the fabric and how it behaves when stretched. Fine powder gives sharper detail and a softer hand; coarser powder bonds more aggressively but can leave a slightly grainier surface. If you are printing small text or halftones, powder choice is often the difference between legible and muddy.
Which Fabrics and Blends Work Best
The honest answer is that DTF is unusually forgiving, but forgiving is not the same as universal. Here is how common substrates behave:
- 100% cotton: Excellent adhesion, soft feel, and the most predictable results. This is the easiest starting point.
- Cotton/poly blends: Very good, with slightly better stretch recovery than pure cotton.
- 100% polyester: Works well, but lower pressing temperatures help prevent dye migration from light-colored fabric into the white ink.
- Nylon and coated synthetics: Possible, but adhesion becomes temperamental and testing is essential before a production run.
- Canvas, denim, and tote bags: Strong performers because the textured surface gives the adhesive plenty to grip.
Waterproof or heavily coated outerwear is the usual failure case. If the fabric has a DWR finish or a slick membrane, the adhesive has nothing to bond with and the transfer will lift at the edges.
The Pressing Steps That Decide the Outcome
Almost every DTF failure traces back to one of four variables: temperature, pressure, time, or moisture. Get these dialed in and the process becomes remarkably repeatable.
Pre-Press the Garment
Cotton holds moisture, and trapped moisture turns into steam the moment the press closes. That steam pushes the transfer up before the adhesive has fully bonded. A five to ten second pre-press at your working temperature removes the bulk of it. It is the step most people skip and the one that causes the most mysterious peeling.
Temperature and Time
A common working range is 300 to 320 degrees Fahrenheit for 10 to 15 seconds at medium to firm pressure. Cotton sits comfortably at the higher end. Polyester usually prefers the lower end, since excessive heat can cause the fabric to scorch or the dyes to migrate. Always confirm the exact numbers for your specific film and powder, because formulations vary between suppliers.
Pressure, Not Force
You want even, medium-to-firm pressure across the whole platen, not maximum force. Too little pressure and the adhesive never fully contacts the fabric weave. Too much and the design can spread or the film can wrinkle under the heat. If your press has a pressure gauge, consistency matters more than the absolute number.
Peel Warm or Cold
Most DTF films are designed for a warm peel, roughly 10 to 20 seconds after the press opens. Cold peel films exist but are less common. Peeling too early pulls adhesive away with the film; peeling too late can leave residue around the edges. Follow the film manufacturer's instruction rather than assuming.
The Second Press
After peeling, a short second press of 5 to 10 seconds with a cover sheet or parchment improves the bond and smooths the surface. It also mattes down any glossy sheen left by the adhesive. This step noticeably extends wash durability.
Common Problems and What They Usually Mean
When something goes wrong, the symptom points fairly directly at the cause:
- Edges lifting after washing: insufficient pressure, incomplete pre-press, or a coated fabric that resists bonding.
- Cracking across the design: too much stretch in the fabric combined with a thick ink layer, or under-curing during the film stage.
- Dull or grey whites: dye migration from polyester, usually solved by lowering temperature or switching to a low-bleed film.
- Powder residue around the print: excess powder not fully shaken off before curing.
- Design looks blurry: powder too coarse for fine detail, or the film was cured at the wrong temperature.
Keeping a simple log of temperature, time, pressure, and fabric for each job makes diagnosing these issues far faster. After a few weeks, you will have a reference sheet tailored to your own equipment, which is worth more than any generic recommendation.
Where DTF Fits in a Real Workflow
DTF shines when you need short runs, multiple fabric types, or full-color designs with gradients and fine detail. It removes the screen setup cost that makes small orders uneconomical, and it handles photographic artwork that DTG often renders flat on dark garments. The trade-off is a slightly thicker hand feel than screen printing and a per-unit cost that rises with ink coverage.
For a shop doing mixed orders, a sensible setup is to keep DTF for small runs, samples, and synthetic fabrics, while reserving screen printing for large repeat orders on cotton. That combination covers nearly every job that walks through the door without forcing one method to do everything.
Storing Transfers Without Wasting Them
Unused transfers keep well if stored flat, away from humidity, and out of direct sunlight. Heat and moisture are the enemies here. A sealed bag in a cool drawer is enough. Avoid stacking heavy items on top of printed films, since creases in the adhesive layer show up as visible lines after pressing.
It also helps to label each batch with the print date and settings used. When a customer reorders six months later, you can match the original result instead of guessing.
Frequently Asked Questions
How many washes do DTF transfers typically survive?
With correct pressing and a proper second press, most garments hold up through 50 or more home laundry cycles. Washing inside out in cold water and avoiding high dryer heat will push that number considerably higher.
Can I apply DTF transfers with a home iron?
It is possible but unreliable. A household iron rarely delivers even pressure or consistent temperature across the whole design, so edges tend to lift. A heat press is strongly recommended for any result you intend to sell or wear regularly.
Do DTF transfers work on dark polyester without dye migration?
They can, provided you press at the lower end of the temperature range and use a film designed for low-bleed performance. Testing a single garment before a full run is the only reliable way to confirm it on your specific fabric.
What is the difference between DTF and DTG?
DTG prints ink directly onto the garment and needs pre-treatment, which limits it mostly to cotton. DTF prints onto a film first, carries its own white layer, and can be applied to cotton, polyester, blends, and many other materials.
How long can I store unused DTF transfers?
Stored flat in a cool, dry place, most transfers remain usable for six to twelve months. Humidity is the main risk, so keep them sealed when not in use.