
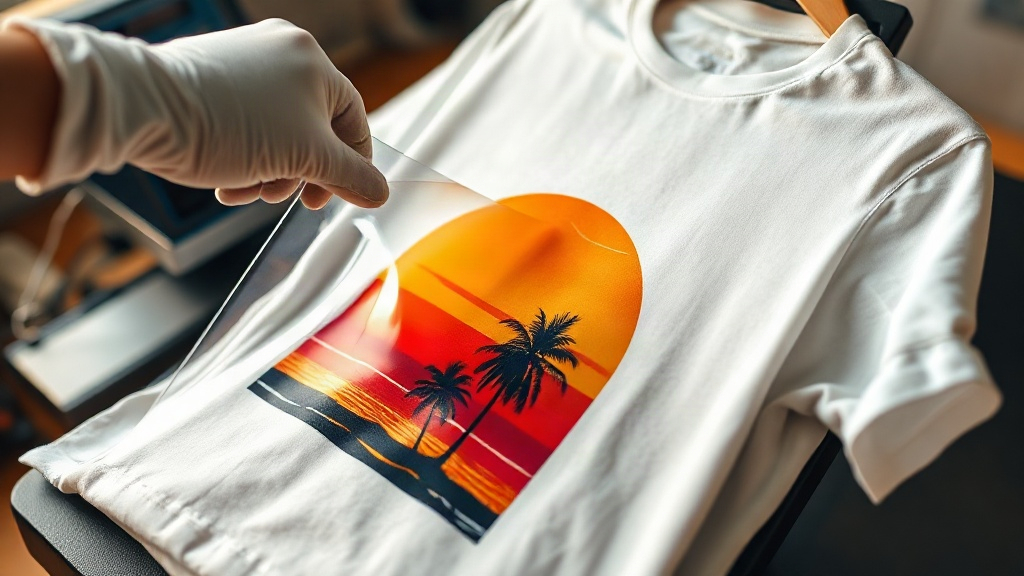
If you've been in the custom apparel game for any length of time, you've probably heard the buzz around DTF Transfers. Unlike traditional screen printing or vinyl, DTF (Direct to Film) offers a versatile, cost-effective way to produce full-color designs on a wide range of fabrics without the setup hassle. But what exactly goes into making a DTF transfer that looks professional and stands up to repeated washing? This guide walks you through the entire process, from choosing the right equipment to troubleshooting common issues.
What Are DTF Transfers and Why They Matter
DTF Transfers are printed on a special PET film using water-based pigments, then coated with a hot-melt adhesive powder. When heat-pressed onto a garment, the adhesive bonds the ink to the fabric, creating a flexible, stretchable print. The technology has gained massive popularity because it works on cotton, polyester, blends, and even treated nylon. No weeding, no color limitations, and no minimums. For small shops and hobbyists alike, DTF opens doors that were previously closed by the economics of screen printing.
Setting Up Your DTF Printer for Success
Your printer is the heart of the operation, but it's not just about buying a converted Epson or a dedicated DTF machine. You need to dial in the right settings to get consistent, vibrant output. Here's what to focus on.
Printer Maintenance and Ink Management
DTF printers use white ink, CMYK, and sometimes additional colors. White ink is notorious for settling and clogging, so daily agitation and weekly cleaning cycles are non-negotiable. I've seen more prints ruined by neglected white channels than any other factor. Run a nozzle check every morning, and if you see gaps, do a head cleaning. Also, keep your ink levels above 20% to avoid air bubbles in the lines.
RIP Software and Color Profiles
Your RIP (Raster Image Processor) software controls how much ink is laid down. Using the wrong profile can result in dull colors or excessive ink that cracks after washing. Most DTF printers come with profiles for popular films, but you'll need to tweak them based on your environment. Start with the manufacturer's recommendation, then print a test image with gradients and skin tones. Adjust the white ink density and color saturation until you're happy. Remember, DTF prints look slightly duller on film; they brighten up after pressing.
Choosing the Right DTF Film and Powder
Not all films are created equal. There are hot-peel and cold-peel options, each with distinct advantages. Hot-peel films allow you to transfer immediately after pressing, speeding up production, but they demand precise temperature control. Cold-peel films require the transfer to cool completely before peeling, which can be a bottleneck but often yields finer detail. For beginners, I recommend starting with a cold-peel film from a reputable brand like DTF Station or Supacolor. As for powder, you want a fine-grain, low-melt adhesive that cures between 320°F and 350°F. Cheap powder can leave a gritty feel or fail to bond properly.
The DTF Transfer Process Step by Step
Now let's walk through the actual production workflow. This is where theory meets practice.
Step 1: Printing the Design
Load your film into the printer with the matte side facing the printhead. Send your design from the RIP software, ensuring it's mirrored. The printer will lay down color first, then white ink on top. This white layer is what makes the colors pop on dark garments. If you're printing on a light shirt, you can reduce the white ink density to save money and keep the print softer.
Step 2: Applying the Powder
While the ink is still wet, sprinkle the adhesive powder evenly over the printed area. You can do this manually or with an automatic powder shaker. Gently shake off the excess; you want a thin, uniform layer. Too much powder leads to a stiff, plastic-like feel, while too little causes poor adhesion. A good trick is to use a powder applicator bottle with a fine mesh screen for small runs.
Step 3: Curing the Transfer
Curing is critical. You need to melt the powder until it turns glossy and gel-like. A heat press or a conveyor dryer works, but you must hit the right temperature and time. For most powders, 320°F for 2-3 minutes in a conveyor oven, or 350°F for 15-20 seconds in a heat press with medium pressure. If you undercure, the transfer will peel off in the wash. Overcuring can scorch the film or make it brittle. Invest in an infrared thermometer to check the actual surface temperature; dial settings can be misleading.
Step 4: Pressing onto the Garment
Set your heat press to 325°F-350°F with medium-heavy pressure. Pre-press the garment for 5-10 seconds to remove moisture. Place the transfer on the shirt, cover with a Teflon sheet or parchment paper, and press for 15-20 seconds. For cold-peel, let it cool completely before peeling. For hot-peel, peel immediately. After peeling, give it a second press for 5 seconds with the Teflon sheet to smooth the print and ensure full adhesion.
Common DTF Transfer Problems and How to Fix Them
Even with the best setup, issues happen. Here's a quick troubleshooting guide.
- Print cracks after washing: Usually caused by undercuring or too much ink. Increase curing time or reduce ink density in the RIP.
- White ink not opaque: Shake white ink daily, increase white ink density, or apply two passes of white.
- Transfer peels off: Insufficient pressure, wrong powder, or undercuring. Check your heat press pressure and temperature.
- Clogged printhead: Perform daily cleanings and use a humidifier to keep the environment around 50-60% RH.
DTF Transfers vs. Other Decoration Methods
How does DTF stack up against screen printing, DTG, and vinyl? For small runs with complex designs, DTF wins on cost and speed. It outperforms vinyl on durability and color complexity. DTG is great for cotton but struggles on polyester; DTF handles both. The main trade-off is the hand feel: DTF prints have a slight texture, while DTG can be softer. But with proper powder application, DTF can feel surprisingly light.
Frequently Asked Questions About DTF Transfers
Can I use DTF transfers on dark colors?
Absolutely. In fact, DTF excels on dark garments because the white ink layer provides a bright base for colors. Just ensure you apply enough white ink and cure properly.
How long do DTF transfers last?
When applied correctly, DTF transfers can last 50+ washes without fading or cracking. Proper curing and using quality powder are key.
Do I need a special printer for DTF?
You can convert an Epson printer with DTF ink and a RIP, or buy a dedicated DTF printer. Dedicated machines are more reliable for production.
What fabrics work best with DTF?
Cotton, polyester, blends, and even nylon. Avoid highly treated water-repellent fabrics unless you test first.
Is DTF transfers cost-effective for small orders?
Yes, because there's no setup cost and you can print one-off designs. The per-unit cost is higher than screen printing for large runs, but for small batches, it's unbeatable.
Mastering DTF Transfers takes practice, but the payoff is a flexible, high-quality decoration method that can grow with your business. Keep your printer maintained, use quality supplies, and dial in your curing process. Before long, you'll be producing transfers that rival any professional shop.