
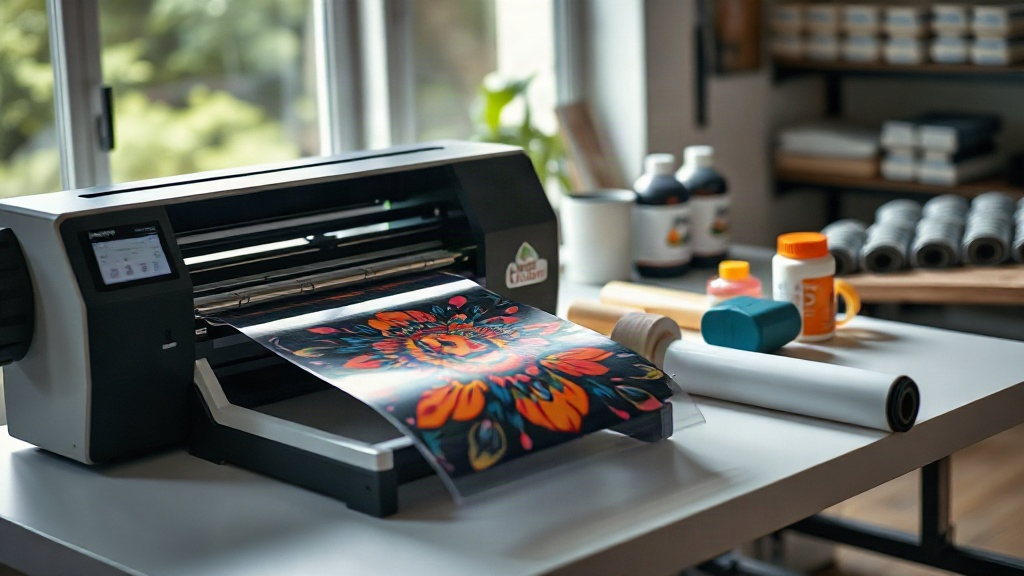
When I first started experimenting with DTF printing, I was drawn to its promise of vibrant colors and no weeding. But my initial attempts were far from perfect: transfers peeled, colors looked dull, and the film wrinkled. Through trial and error, I learned that success lies in the details. In this guide, I'll share the key steps and insider tips to help you achieve professional-looking DTF transfers right from your first try.
What Is DTF Printing and Why It's a Game-Changer
DTF stands for Direct to Film. It's a printing method where your design is printed onto a special film, coated with adhesive powder, and then heat-pressed onto fabric. Unlike DTG or screen printing, DTF works on almost any fabric, including cotton, polyester, and blends. The process is straightforward, but the devil is in the details.
Why go DTF? For starters, you don't need to weed vinyl or deal with color limitations. The prints are stretchable and durable, and the color vibrancy is impressive. Plus, it's cost-effective for small batches. Whether you're a hobbyist or a small business owner, DTF can elevate your custom apparel game.
Essential Supplies for DTF Printing
Before you dive in, gather the right tools. Using subpar supplies is a recipe for frustration. Here's what you need:
- DTF printer: A dedicated DTF printer with white ink capability. Brands like Epson converted models are popular.
- DTF film: PET film with a matte side for printing and a glossy side for handling. Quality matters; cheap film can cause ink smearing.
- DTF ink: Pigment-based inks designed for DTF. Using regular inks will clog your printhead.
- Adhesive powder: A thermoplastic polyurethane (TPU) powder that melts and bonds the ink to fabric.
- Heat press: A reliable press with consistent temperature and pressure.
- Heat-resistant tape: To secure the transfer during pressing.
Investing in good supplies pays off. I learned this the hard way when I tried to cut costs on film, only to end up with ruined prints.
Step-by-Step DTF Printing Process
1. Designing Your Artwork
Start with high-resolution images (300 DPI). Remember that DTF prints are opaque, so you need to add a white underbase. Most RIP software handles this automatically, but always preview the white layer to ensure it's not too thin or thick. For dark garments, a thicker white layer might be necessary.
2. Printing on Film
Load your DTF film with the matte side facing the printhead. Set your printer to the correct ink settings (usually a mirrored image). Print a test to check for nozzle clogs. I always run a nozzle check before a big job to avoid streaks.
3. Applying Adhesive Powder
While the ink is still wet, sprinkle the adhesive powder evenly over the print. Gently shake off the excess. You want a thin, uniform layer. Too much powder leads to a stiff feel; too little and the transfer won't adhere.
Next, cure the powder. You can use a heat press or a dedicated curing oven. Set the temperature to around 320°F (160°C) for 2-3 minutes. The powder should melt and become glossy. If it looks dull, it's undercured.
4. Heat Pressing the Transfer
Preheat your heat press to 320°F (160°C) for cotton, or 280°F (140°C) for polyester. Place the garment on the press, position the transfer with the printed side up, and cover with a Teflon sheet or parchment paper. Press for 15-20 seconds with medium pressure.
Wait for the transfer to cool completely before peeling. For a matte finish, peel cold; for a glossy finish, peel hot. I prefer cold peel for a softer feel.
Common DTF Problems and How to Fix Them
Even with experience, issues pop up. Here are quick fixes:
- Transfer peels off: Likely undercured powder or insufficient pressure. Increase temperature or pressure.
- Colors look faded: Could be expired ink or wrong ICC profile. Try a new ink cartridge and recalibrate.
- Film wrinkles: Film may be too thin or printer feed misaligned. Use heavier film and adjust rollers.
- Sticky residue: Too much powder. Reduce amount and ensure even distribution.
Keeping a log of your settings and results helps pinpoint issues quickly.
Pro Tips for Flawless DTF Transfers
After countless trials, I've picked up a few tricks that make a big difference:
- Pre-press your garment: This removes moisture and wrinkles, ensuring better adhesion.
- Use a lint roller: Before pressing, roll the garment to remove lint and dust.
- Test your powder: Not all powders are created equal. Try a small batch to see how it melts.
- Store film properly: Keep it in a cool, dry place to prevent curling.
- Clean your printer regularly: Clogged nozzles ruin prints. Run weekly cleanings.
These small habits save time and materials in the long run.
Frequently Asked Questions About DTF Printing
What fabrics can I use with DTF transfers?
DTF works on almost any fabric, including cotton, polyester, blends, and even leather. However, for stretchy fabrics like spandex, use a stretchable DTF film and powder to prevent cracking.
How do I wash DTF-printed garments?
Turn the garment inside out and machine wash cold. Avoid fabric softeners and bleach. Tumble dry low or hang dry. Wait at least 24 hours after pressing before washing to let the adhesive fully cure.
Can I use a regular heat press for DTF?
Yes, but it must maintain consistent temperature and pressure. A clamshell press works, but a swing-away press is better for even pressure. Always use a Teflon sheet to protect the transfer.
How long do DTF transfers last?
With proper care, DTF prints can last 50+ washes. The key is correct powder application, curing, and pressing. Avoiding excessive heat during washing also extends longevity.
Why is my DTF print cracking?
Cracking usually means undercured powder or too much pressure during pressing. Ensure the powder is fully melted and use medium pressure. Also, check that the film is not expired.
Mastering DTF printing takes practice, but with these guidelines, you'll be creating professional transfers in no time. Remember, consistency is key. Keep experimenting and refining your process.