
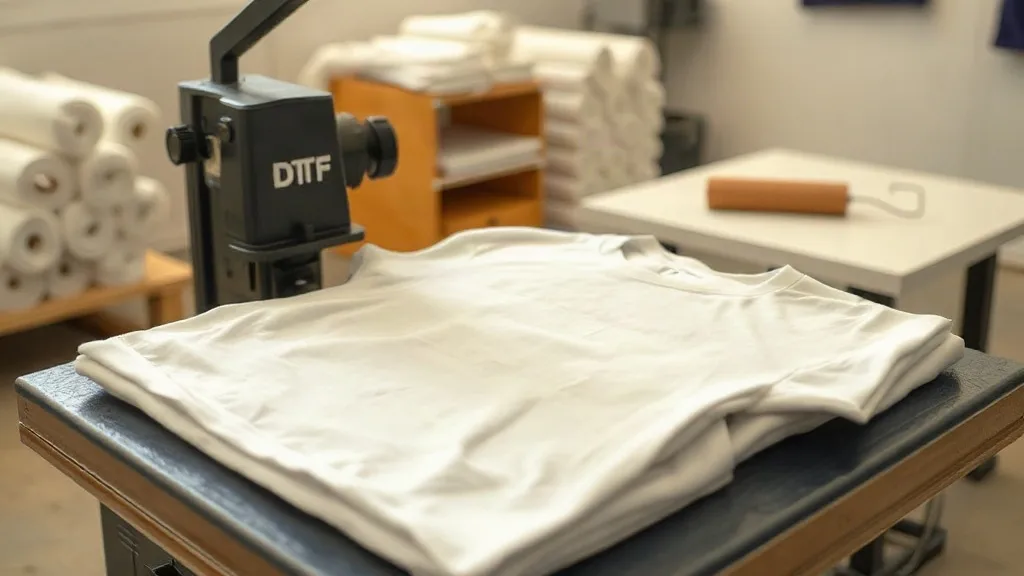
You've dialed in your press temperature, pressure, and timing. Your dtf transfers look flawless coming off the platen. Then the first wash happens, and edges lift, cracks appear, or the whole design peels away. Frustrating, right? Before you tear apart your press settings, consider this: the problem might not be your equipment at all. It could be the fabric itself. Fabric preparation is the silent variable that makes or breaks dtf application, yet it's often overlooked in favor of press tweaks and transfer tricks. In this guide, we'll dive into why fabric prep matters, how to do it right for different materials, and the common mistakes that sabotage even the best dtf transfers near me.
Why Fabric Preparation Is Non-Negotiable
DTF transfers rely on a thermoplastic polyurethane (TPU) adhesive powder that melts and bonds to the fabric under heat and pressure. For that bond to form, the adhesive must make direct contact with clean, dry fibers. Any barrier, moisture, or contamination prevents proper adhesion. Fabrics fresh from the manufacturer often carry sizing agents, softeners, or optical brighteners. These finishes may feel nice to the touch, but they create a slick surface that the adhesive can't grip. Similarly, cotton and blends absorb ambient moisture, and even a small amount of humidity can turn to steam during pressing, creating bubbles and weak spots. Prepping the fabric removes these obstacles, ensuring the adhesive can do its job.
Pre-Pressing: The Step You Can't Skip
Pre-pressing, also called pre-pressing or ironing, is the act of heating the garment before applying the transfer. This step accomplishes three things: it removes wrinkles, eliminates moisture, and flattens the fabric surface for uniform contact. Wrinkles are more than a cosmetic issue; they create uneven pressure zones where the transfer may not adhere fully. Moisture, as mentioned, turns to steam and disrupts bonding. Pre-pressing typically involves pressing the garment for 5-10 seconds at the same temperature you'll use for the transfer, or slightly lower if the fabric is heat-sensitive. Use a pressing pillow or a firm surface to ensure even pressure. For garments with thick seams or zippers, pre-press around them or use a pressing pad to level the area. After pre-pressing, the fabric should be completely dry and flat. If you see steam escaping, continue pressing until no more steam rises.
Cleaning and Contaminant Removal
New garments aren't necessarily clean. They may contain dust, oils from manufacturing, or residues from packaging. Even handling with bare hands can leave natural oils that interfere with adhesion. Before pre-pressing, inspect the garment for any visible debris. A quick lint roll or a soft brush can remove surface particles. For stubborn contaminants, a fabric-friendly cleaner may be needed, but be cautious: some cleaners leave residues. If you must clean, use a mild detergent and rinse thoroughly, then dry completely before pressing. Avoid fabric softeners and dryer sheets entirely, as they leave a coating that repels adhesives. If you're using reclaimed or thrifted garments, washing is essential, but ensure they are completely dry before pressing.
Fabric-Specific Prep: Not All Blanks Are Created Equal
Different fabrics require different prep approaches. Here's how to handle the most common blanks:
- 100% Cotton: Cotton is absorbent and prone to shrinking. Pre-shrink by washing and drying before decorating if the garment hasn't been pre-shrunk. Pre-press to remove wrinkles and moisture. Cotton can handle higher temperatures (around 300-320°F) but be mindful of scorching if the press is too hot.
- Polyester and Blends: Polyester is heat-sensitive and can melt or glaze if overheated. Use lower temperatures (280-300°F) and shorter pre-press times. Pre-pressing is crucial to remove moisture, but avoid excessive heat. Some polyester fabrics have a slick finish that can hinder adhesion; a light pre-press can help slightly soften the surface, but don't overdo it.
- Tri-Blends (Cotton/Poly/Rayon): These fabrics are soft and stretchy. They may require a lower temperature to prevent scorching, and pre-pressing should be gentle. Because they stretch, consider using a pressing pillow to maintain shape and ensure even pressure.
- Canvas and Heavy Fabrics: These need longer pre-pressing to flatten thick seams and remove moisture. Use firm pressure and consider pre-pressing both sides if the fabric is very thick.
Always test a small area if you're unsure about heat sensitivity. And remember, the goal is to create a dry, flat, and clean surface, not to alter the fabric's characteristics.
The Moisture Factor: Why Dryness Is Critical
Moisture is the enemy of DTF adhesion. When the press heats a damp garment, water turns to steam, which expands and creates pressure between the transfer and the fabric. This can cause the transfer to lift prematurely or create bubbles under the film. Even if the transfer appears to adhere, the bond is weakened. To ensure dryness, pre-press until no steam is visible. For heavily damp garments, consider air-drying or using a heat gun on a low setting before pressing. Store blanks in a dry environment; humidity above 60% can be problematic. If your shop is humid, run a dehumidifier or store garments in sealed bins with desiccant packs.
Handling Wrinkles and Seams
Wrinkles and seams are common culprits behind incomplete transfers. A wrinkle creates a valley where the transfer can't make contact, leading to a weak spot that may peel after washing. Seams, especially thick ones like those on hoodies or pockets, can prevent the press from applying uniform pressure. To address wrinkles, pre-press with steam (if your press has that feature) or use a spray bottle to lightly mist the fabric before pressing. For seams, use a pressing pad or a folded towel to build up the area around the seam, creating a level surface. Alternatively, press the transfer in two steps: first press the area around the seam, then reposition to cover the seam with firm pressure. For very thick seams, consider using a smaller press or a handheld iron to tack the transfer down before a final press.
Static and Lint: The Invisible Enemies
Static electricity can attract lint and dust, which can get trapped between the transfer and the fabric, causing poor adhesion and visible defects. Synthetic fabrics are especially prone to static. To combat static, use an anti-static spray or wipe the fabric with a dryer sheet (but don't use the dryer sheet as a fabric softener; just a quick wipe to neutralize static). However, be careful: some dryer sheets leave residues, so use them sparingly and only on the fabric surface, not on the transfer. Lint rollers are essential for removing surface debris. Keep your workspace clean and avoid wearing fuzzy clothing that sheds fibers.
Testing and Quality Control
Even with perfect prep, it's wise to test the adhesion on a scrap piece of the same fabric before pressing the final transfer. This is especially important for new fabric types or when you've changed suppliers. A simple test involves pressing a small transfer and then attempting to peel it after it cools. If it peels easily, investigate prep or press settings. For production runs, consistent prep is key to repeatable results. Develop a checklist: inspect, clean, pre-press, and verify dryness. Train your team to follow it every time.
Common Fabric Prep Mistakes to Avoid
- Skipping pre-pressing: This is the most common mistake. Always pre-press, even if the garment looks flat.
- Using fabric softener or dryer sheets: These leave a coating that repels adhesives. Avoid them completely.
- Pressing over seams without leveling: This leads to incomplete adhesion. Use a pressing pad or adjust technique.
- Ignoring humidity: Store blanks in a dry place and pre-press until no steam is visible.
- Not cleaning lint and debris: A quick lint roll can save a print.
- Overheating delicate fabrics: Always test and use the lowest effective temperature.
Frequently Asked Questions
Can I use a regular iron instead of a heat press for pre-pressing?
Yes, a regular iron can work for pre-pressing, but it may not provide even pressure. Use the iron on a steam setting (or with a spray bottle) to remove wrinkles, then press firmly without steam to dry the fabric. Be cautious with heat settings, especially on synthetics. For best results, use a heat press if available.
How do I know if my fabric is dry enough for DTF transfer?
Pre-press the garment for 5-10 seconds. If you see steam rising, it's still damp. Continue pressing until no steam appears. The fabric should feel completely dry to the touch. For thick fabrics, you may need to pre-press both sides.
What should I do if the fabric has a stubborn wrinkle that won't come out?
Try misting the area lightly with water and pre-pressing again. For deep wrinkles, use a pressing cloth and apply firm pressure. If the wrinkle persists, consider using a different garment, as it may cause adhesion issues.
Can I prep fabric hours before pressing the transfer?
It's best to pre-press immediately before applying the transfer to prevent the fabric from absorbing moisture from the air. If you must prep ahead, store the garment in a sealed plastic bag or bin with desiccant to keep it dry.
Is fabric prep different for 100% polyester?
Yes, polyester is heat-sensitive. Use lower temperatures (around 280-300°F) and shorter pre-press times. Avoid over-pressing, which can cause glazing. Also, polyester may have a slick finish that requires gentle pre-pressing to improve adhesion without damaging the fabric.